
I've had several requests for sugar eggs this
year, so I thought I'd just take photos along
the way.
~~~~~~~~~~~~~~~~~~~~~
The first thing you need is a mold.
The clear molds below are discontinued Wilton molds.
The colored ones were purchased at the
Ben Franklin dime store eons ago. Easter is around the
corner so keep an eye open for something suitable in the
Easter holiday section. Look for a flat bottom
and nothing inside that would prevent the shell
from sliding out.


Here are couple places that have molds for panoramic eggs.
Confectionary House
Kitchen Craft
~~~~~~~~~~~~~~~~~~
All you need to make the sugar shells.
Sugar
Cornstarch
Water
Sugar
Cornstarch
Water

Basic recipe:
1 cup sugar
1teaspoon cornstarch
about 1 1/2 tsp. water
If you want to make a colored egg, add coloring
to the water before adding it to the sugar and cornstarch.
I am making several eggs so I have tripled the recipe.

Thoroughly mix the cornstarch and sugar together.

Add the water and mix thoroughly.
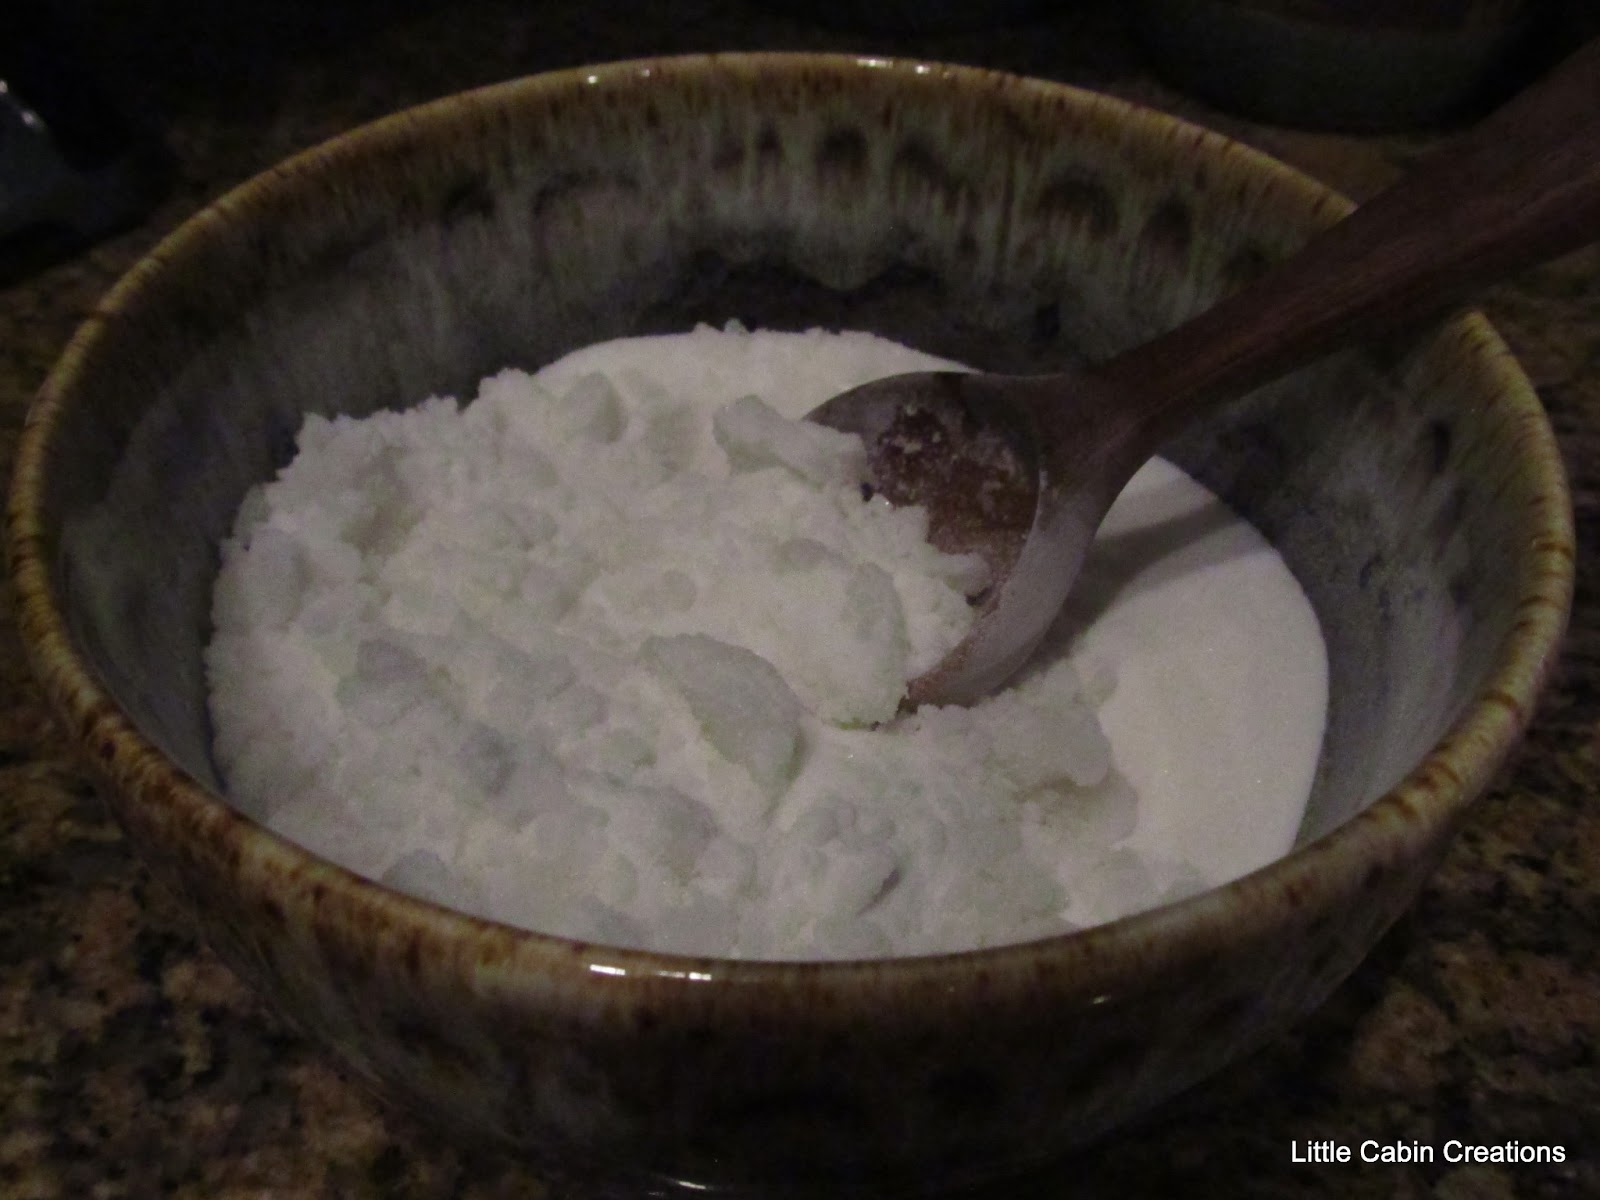
Additional water may be needed. Add a drop at a
time. The mixture should be like damp-sand not
wet-sand and be the same whiteness throughout.
time. The mixture should be like damp-sand not
wet-sand and be the same whiteness throughout.
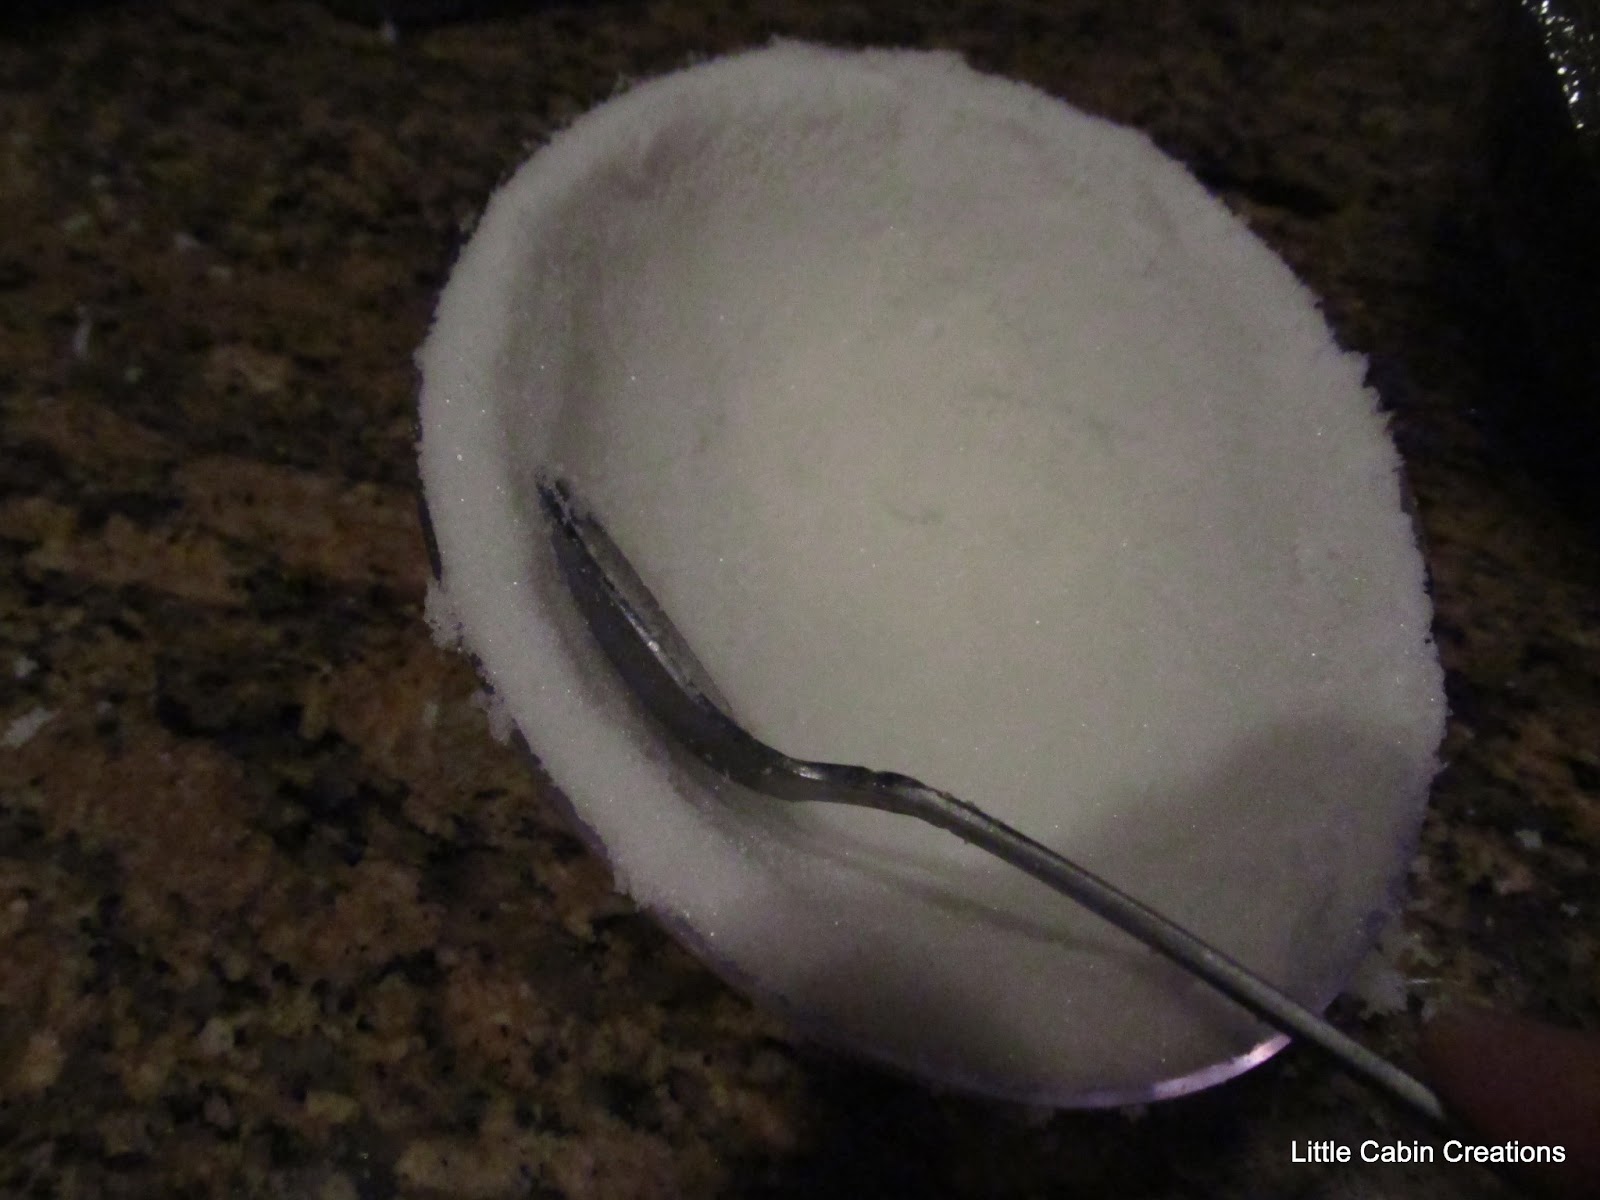
Fill a spoon with the mixture,

if it holds it's shape, it's ready.

Cover the bowl with plastic wrap or a damp
cloth to keep it from drying out.

These markings are a guide for cutting out the
view hole. Crude but effective!

Start by spooning the mixture into the egg.
Fill it about 2/3 full.

With a small spoon, I use a teaspoon, begin packing
the sugar along the bottom of the egg, working
up the sides.
the sugar along the bottom of the egg, working
up the sides.

Be sure to pack down the top of the side edges.

Continue packing until it's firm and smooth all around.

I find it much easier to make a thick shell, then
gently thin it down, as opposed to firmly packing
a thin shell. Too much pressure and the whole
shell jumps out of the egg! If your shell is not firmly
packed it will leave a surface crack like the one below.

Gently spoon out the sugar.
gently thin it down, as opposed to firmly packing
a thin shell. Too much pressure and the whole
shell jumps out of the egg! If your shell is not firmly
packed it will leave a surface crack like the one below.

Gently spoon out the sugar.

Occasionally clean off the back of the spoon.

Continue to thin the egg until,

it's about 1/4 inch thick, mine are a bit over that.

Begin removing the sugar from the peep hole a
little at a time.


In a different egg that's colored, I want to show the
thickness of the peep hole.
thickness of the peep hole.

Thin this just a little and smooth it up.

Drying time is about 24 hours.

To remove the shell, place something flat on the
egg and gently turn it over. The shells made from the
Wilton mold simply fall out. Sometimes a gentle
tapping is required for the other molds, and
occasionally they break.


The finished shell.

Lots of eggs!

~~~~~~~~~~~~~
Click the links below for more tutorials:
How to Make Gum Paste Flowers For Panoramic Sugar Eggs
How To Decorate The Inside Of A Panoramic Sugar Egg
How To Decorate The Outside Of A Panoramic Sugar Egg
Finished Panoramic Sugar Eggs
Mother's Day Panoramic Sugar Heart
Click the links below for more tutorials:
How to Make Gum Paste Flowers For Panoramic Sugar Eggs
How To Decorate The Inside Of A Panoramic Sugar Egg
How To Decorate The Outside Of A Panoramic Sugar Egg
Finished Panoramic Sugar Eggs
Mother's Day Panoramic Sugar Heart
That is amazing, how you did that. I never would have figured this out in a million years. You are so smart. Can't wait to see you finish them.
ReplyDeleteI had hoped you would do a tutorial on your sugar eggs. Now, I am looking forward to seeing how you design inside the shell...what fun!
ReplyDelete