Showing posts with label Doll Hat Making. Show all posts

Saturday, January 31, 2015

A Bufkins Bunny Bonnet & Basket

I'm back at sewing, yea!  I thought I'd start with
 something I can use a bigger needle with, easier
to grasp.  So, I dug out my hat mold & stitched up
a Bufkin bunny bonnet.


Leaving room for the ears.

Since the Bufkin girl bunnies favorite flower is the
 rose, I chose a velvet wild rose.  Also, a few tiny blue
 velvet forget-me-nots, velvet leaves, some vintage
 millinery radishes and a dark green silk ribbon.

I cut the large leaves into smaller ones.

Added a length of ribbon to each side.

Doesn't every bunny want a radish hat?

This bunny will also need a little basket
 for foraging in the woods.
Vintage carrots, some moss &
 
 teeny mushrooms too.
Along the way, she'll spread some
Heirloom Wild Rose seeds.
Time to start stitching a Bufkin bunny!
~~~~~~~~~~~~~~~~~
My niece Emily & her husband Nick have
a new baby boy, Emmett James, 9 lbs 2 oz.
Welcome to the world!
 Miss Ava is very excited to have a baby brother.
~~~~~~~~~~~~~~~~~~
I get my beautiful velvet flowers from By
Gone Days, based in Australia.  I have their
link listed under my favorite places.
By Gone Days

HAPPY SEWING!

Friday, October 10, 2014

Dolly Straw Bonnets-The Blackler Collection Of Cloth Dolls

The weather has been so nice, it's hard to stay indoors and
work on dollys, but I have managed to get a few simple
poke bonnets stitched together.  They still need to be lined
and decorated.
 I buy my Italian hat straw at:
Judith M
Earlier his week, Theriaults Auction House had an auction of
cloth dolls from the Blacker Collection.  If you are interested
in the early American hand made cloth dolls, I highly recommend
 you take the time to watch the 4 videos of the collection
narrated by Florence Theriault. 
These dolls are amazing!

Friday, May 3, 2013

Mrs. Bufkins-All Dressed Up, Ozark Style & How I Made Her Bonnet

Mrs. Bufkins, wearing her favorite
summer sun dress and straw bonnet, is on the 
way to market to purchase some seeds for her
flower beds and garden.  She has spring fever.
Her cartridge pleated sundress is hand stitched
from a mid 1800's reproduction calico print in
green and chrome yellow with a touch of orange.
 (Icky colors, but they look lovely against
her green skin!)

She has antique shoe button eyes
and antique orange china buttons.
Mrs. Bufkins loves bonnets and never goes
outdoors without one.  A lady must protect
her face from over exposure to the sun.
 
 Her hand stitched bonnet is decorated with
vintage composition berries, velvet leaves
and her favorite flower, the Carabella rose, that
 grow wild in the woods near her burrow.
Mrs. Bufkins is made from wool with ultra suede
paws pads and inner ears.
Mrs. Bufkins is 14 inches tall including
her 4 in. ears & fully jointed.
  NEWS FLASH...............
I stitched her body on the machine!
~~~~~~~~~~~~~~~~
How did I make her straw bonnet?
I started by making a tin foil bonnet in 2
pieces, the brim and the crown.
It was difficult to work around those ears.
I used a soup can and placed some
Sculpey Polymer Clay on the bottom and baked it
according to the package directions.
This gave me a sturdy base to work with.
This is the mold I made for the curved brim.
I rolled out the clay with a small rolling pin
and used a larger can to cut out the circle.  I
am not a sculptor so it looks terrible and I'm
fairly sure I over baked it, but it worked!
I started on the outside of the brim working toward
the center, stopping at the black line.  This gave
me a curved brim with a large circular opening.
This was cute just by itself but, I really wanted a
high crown between the ears.
This is the mold for the long narrow crown shape. 
 Here are links to the natural straw hat braid, glue
and prior post on straw hat making.
~~~~~~~~~~~~~~~~~~~~~~~~~~~~
Natural Italian Straw Braid

Hat Glue

Straw Hat Tutorial
~~~~~~~~~~~~~~~~~~~~~~~~~~~~~
I dyed the natural straw braid with Rit dye tan.
 I made the hat in 2 separate pieces and then
stitched them together, so I would have spaces
for Mrs. Bufkins ears!
I added a simple decoration.
 Now that I've gotten the actual shape I need, I can
make this mold in one piece and just allow a space for ears
while gluing the straw braid in place.
 How easy is that?
Happy Hat Making!
 ~~~~~~~~~~~~~~
I have added Mrs. Bufkins to my dolls for sale page.

Monday, June 11, 2012

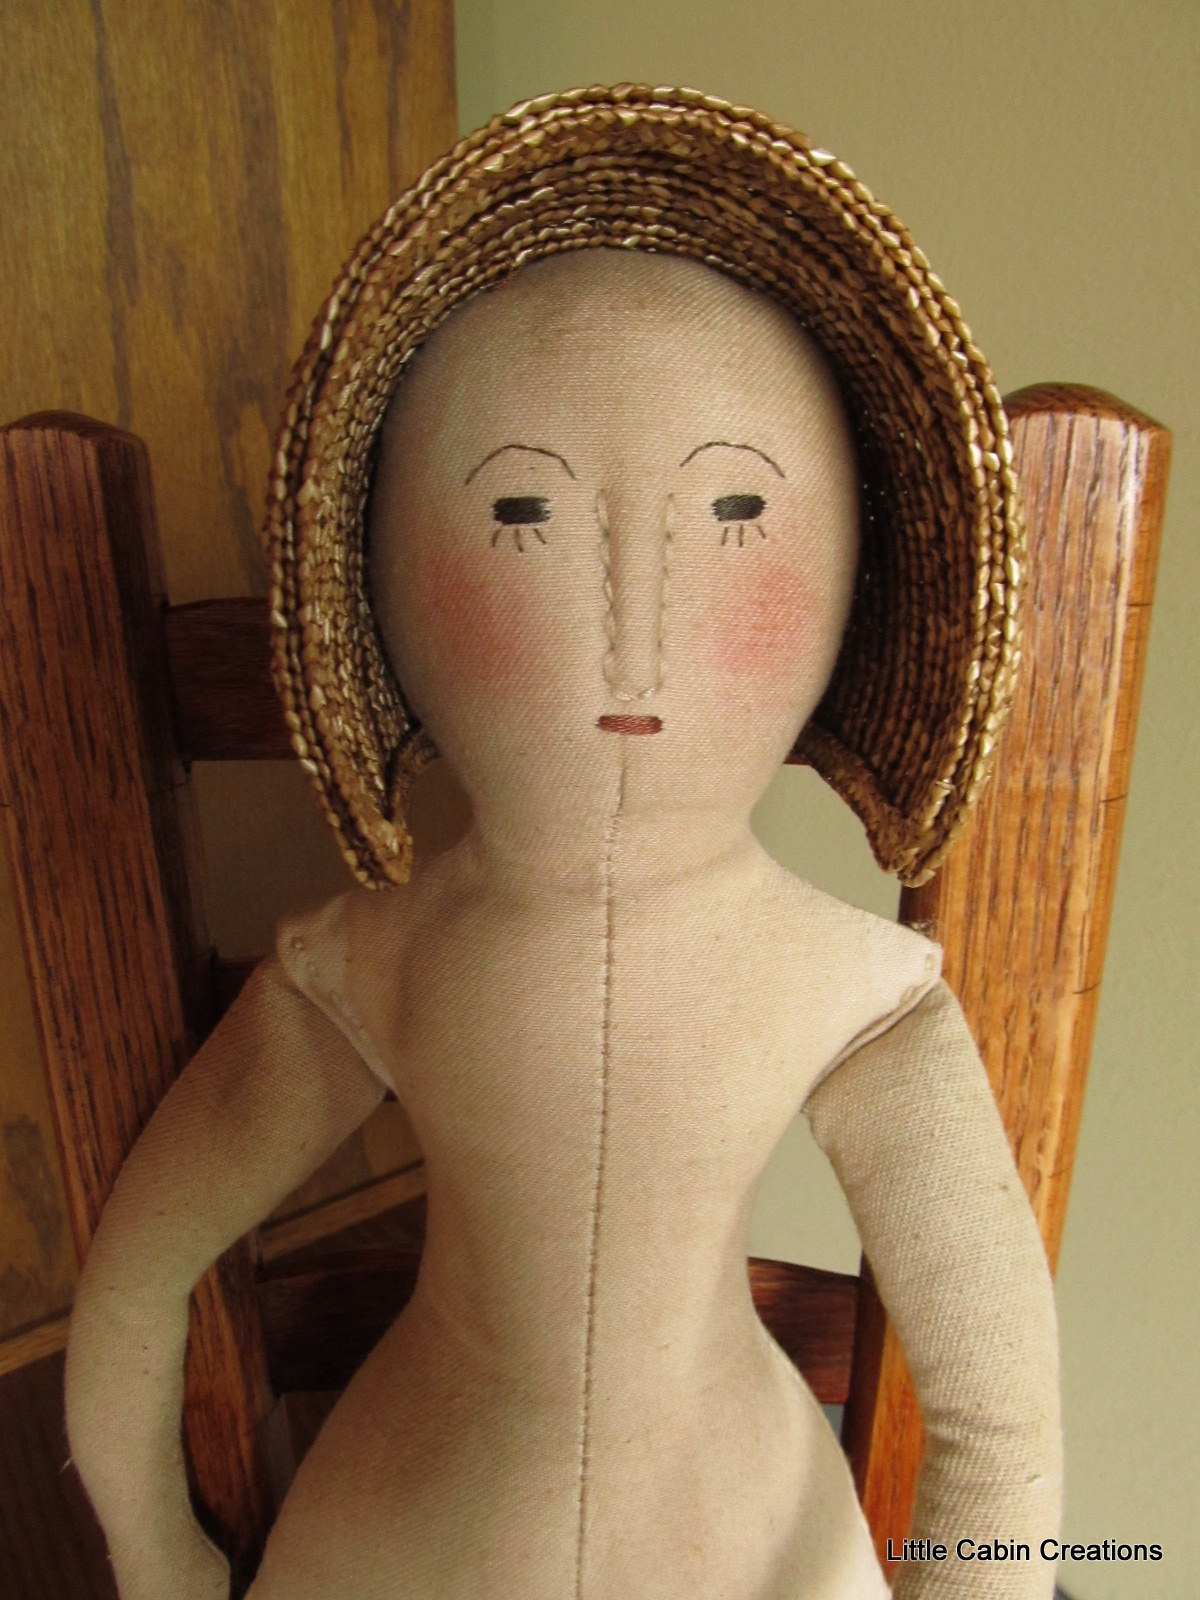
Dolly's Handsewn Bonnet and Petticoat

I hand stitched this little bonnet out of
new Italian straw braiding dyed
  with Rit tan dye to give it a bit of age.
I have chosen this vintage rayon ribbon in a
chestnut brown color.  However, I may
change my mind depending on the fabric I
choose for her dress.  ( I do that a lot!)
 Made to fit this dolly.
 
 I have also finished her petticoat.  I have aged
it, you can see the difference in comparison
to the pantalettes. 
 The hem is a running stitch that can be seen
on the front of the petticoat.  I see this in photos
 of antique doll clothing & I believe this type of
hem is appropriate for reproduction doll clothing. 
 However, I have hemmed it with a tiny slip
stitch on the inside for strength, but you
cannot see those tiny stitches. 
 By the way, her name is Cora Bagley Butternut. 
 Chosen from my Taney County Brides list.
Tee Hee!
She still needs hair and a proper
dress.  I am thinking of a little
cape too.  (Maybe)

This bonnet was so easy to make!!
No mold.  For those of you who make
the beautiful Izannah Walker style dolls,
if you are interested in a tutorial let me
 know & I will make another one with lots
of photos and show the process in a post.
I think it would be easily adapted to 
any size and side contour shape for
your beautiful dolls.

Friday, April 6, 2012

Dolly's Handmade Straw Bonnet

I thought it would be fun to show you
how I made this little bonnet.
I started with a bonnet mold from
PNB Doll CO.  They have lots of molds
in all shapes and sizes.
They sell Swiss hat braid in several
colors. They also sell kits that come
with wonderful directions.
Here is a link to their store.
However,
I have several Italian straw bonnets in a natural color
that are just too large for the dolls I make.............so,
I decided to dye a couple tan, take them apart and make
a different bonnet.  Oh, how I love to
Make Do!
This is a great sight with links to doll supplies too.
This link is to the page that sells Italian straw,
I have purchased, since I published this post.
Look around her site.
Judith M Inc 
 These are the materials I needed to get started.
Mold
Glue
Straw
Double sided tape
Scissors
Thread (matches hat color)
Needle & bee's wax (keeps your thread from tangling)
I used glue from PNB Doll. It dries
fast, clear and is flexible.
 I intended to hand sew the entire
hat to make it more sturdy for child's play
so, I used the glue sparingly.
I started by placing the double stick tape
around the base of the mold, this will
 help keep the straw secure.
 I placed 1 row of straw at the mark
indicated on the side of the mold. (the mold is
marked on both sides) I added a thin row
of glue to the inner side of
the braid.
Then added another row of braid over lapping the
first row about 1/2.  Cutting the strip
at an angle on the end.
I continued adding several rows.
 As I added rows, I spread the ends out.  This
spreading allowed the direction of the rows
to curve toward the back.
 To make the hat come out even, I
overlapped the rows to the front more. 
I continued adding until the rows
met in the back.
 I started with a new row, coiling around,
 no longer cutting the braid.
 I continued coiling, gluing, overlapping
 and pressing down.

When I reached the middle, I left a small hole.
I cut the straw about 1 inch long and tucked it
 through the hole to the inside of the hat. 
 I glued this down.
This is what the hat looked like.
I carefully removed the hat from the mold.
 Trimmed the edges with my scissors.
I put the hat back on the mold, added
a bead of glue all around the top
of the outer edge & added 1 row
of straw matching in the back.
I cut the braid so it matches neatly.
I did the same to the inside
of the hat.
 I added another row to the
outside of the hat. This made a
nice finished look to the
bonnet.
At this point I hand stitched
the entire hat. The hat is done,
ready to be embellished!
These are items used I used 
to decorate the dolly's bonnet.
Floral tape
Wire cutters
Velvet leaves (cut down into tiny leaves)
Vintage composition berries
vintage spun cotton mushrooms
Velvet flowers
Thread and needle
Silk ribbon
Some scissors too!
More decorations than I needed
but I wanted plenty to choose from!
I started by attaching the ribbon
to the front of the bonnet,
sewing it down.
 The doll that was going to wear this
 bonnet had pigtails. I attached the ribbon
 ties low to the back of the hat, so the
bow could be tied close to her neck
and not interfere with her braids.
I then added small loops, folding up the ribbon
and sewing them down.
 I had plenty of this ribbon so I
added another loop to both sides.
(I refuse to waste even 1/2 in of silk ribbon)
I chose several flowers, berries, 1
 mushroom and wrapped them
 together with the floral tape.
I sewed this bouquet to the center top
of the bonnet.
The bonnet is done!
You might be wondering why I would
add red berries to this hat. Matching is really
a modern concept! Besides, I like to
make do with what I have! 
This was a fun project.  A special
hat for a special doll.
The work was tiny and a bit tedious,
but well worth the effort!
This is a wonderful book by Denise Dreher.  
I purchased it when I was doing reenacting. 
 Here is a link to her site.