Letha Mae has finally seen her dress.
Getting her to smile for the camera is a
tough one, as she's a bit shy. Inside,
I know she's beaming!
 I made her a little hankie. It's actually cut
from a old hankie, that I just added some
lace to.
Getting her to smile for the camera is a
tough one, as she's a bit shy. Inside,
I know she's beaming!
from a old hankie, that I just added some
lace to.

Her apron is made from a sheer stripped
batiste. I added a pocket for her hankie.
Young ladies blow their nose, not wipe
it on their sleeves.
Young ladies blow their nose, not wipe
it on their sleeves.


Miss Mary's dress is described as having a "full"
skirt. I stitched 3 rows of synchronized stitches
to gather her 160 pleats. I removed the bottom
row, and left the top 2 rows in the finished dress.
It's hard to see, but there is also a fold in the skirt
to coordinate with the fold in the sleeve.
to coordinate with the fold in the sleeve.
~~~~~~~~~~~~~~~~~~~~~~
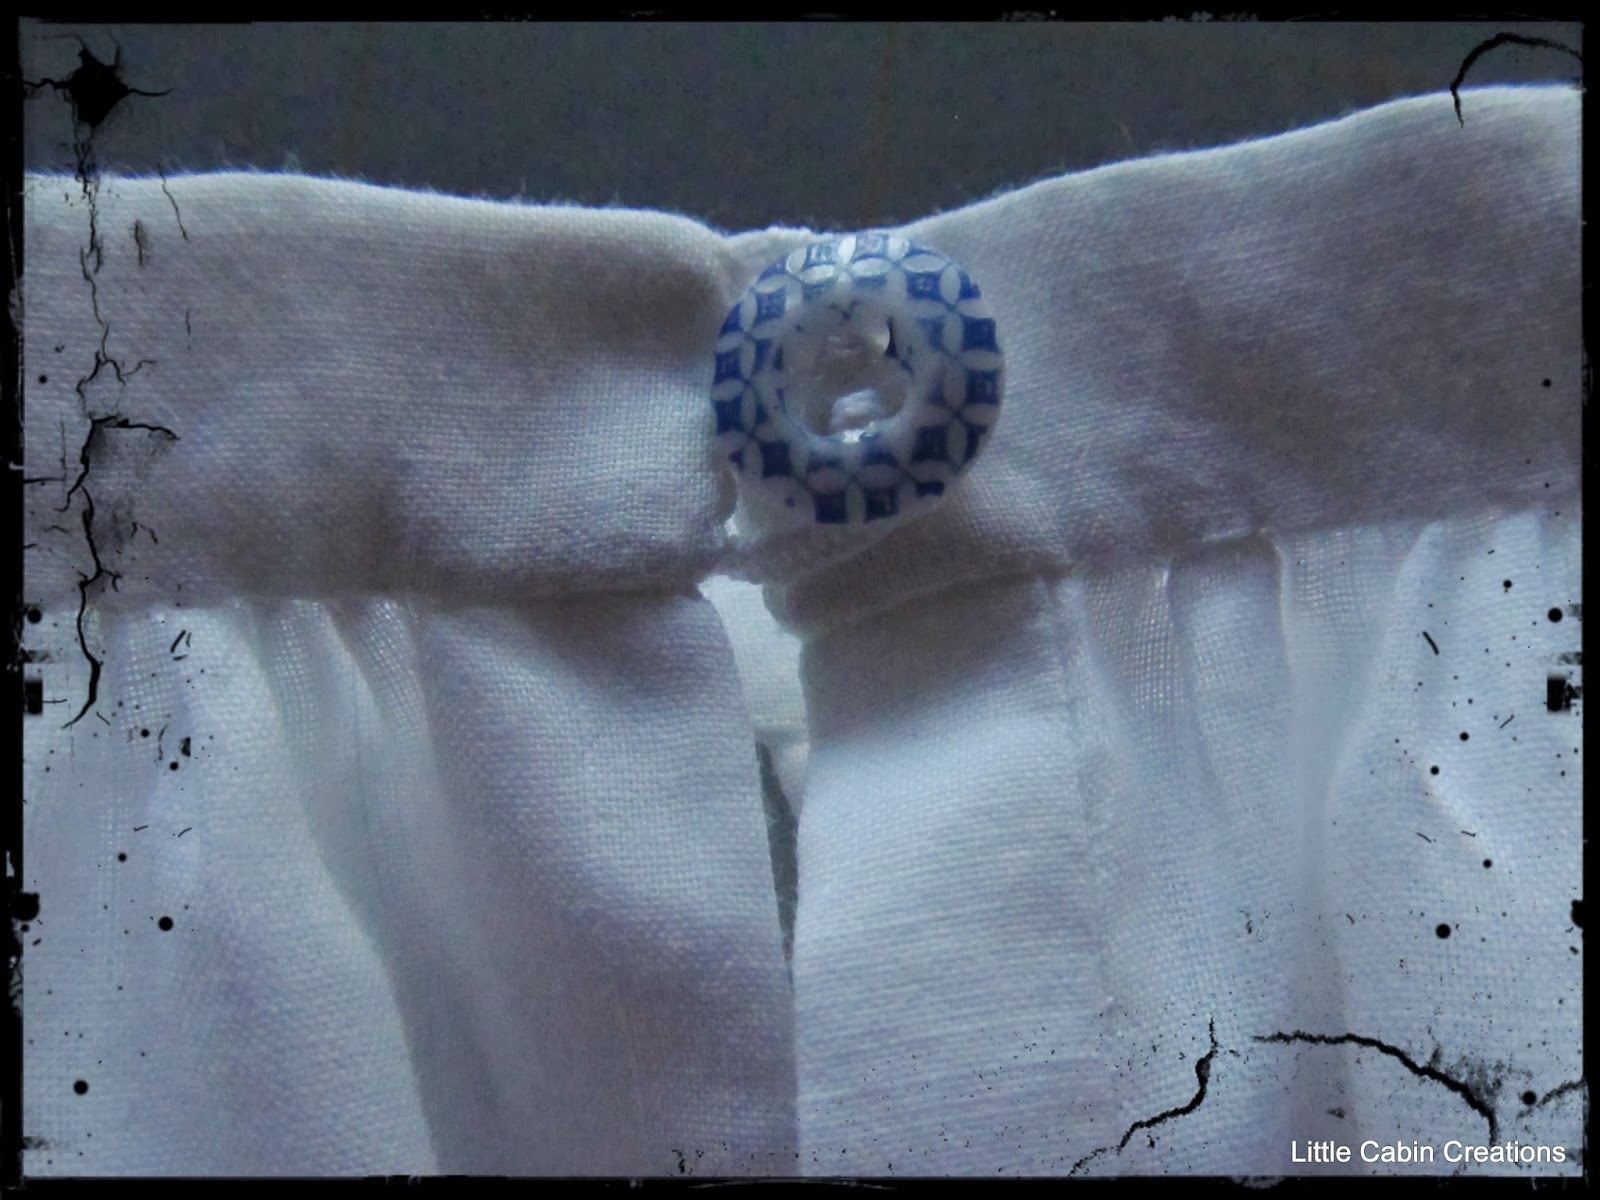
Miss Mary's dress did not have buttons, but
Miss Mary's dress did not have buttons, but
I added 4 early 1900's milk glass as a decorative touch.
Aletha is named after my mother & she loved milk glass.
They're a bit too big, not the right period, but sometimes,
Aletha is named after my mother & she loved milk glass.
They're a bit too big, not the right period, but sometimes,
that's what gives a dolly's dress all it's charm.


I stitched some old fashioned socks from a pattern I
found on Dixie Redmond's site, Maida Today. They
remind me of the Wicked Witch of the West, but
red and white stripped socks were quite fashionable
in the mid 1800's.
Maida Today Old Fashioned Sock Pattern

Miss Letha's asked me to make a
matching outfit for her favorite doll Jane.

Jane the Cook is a character from the book
The Tale of Two Bad Mice by Beatrix Potter,
Aletha's favorite story.


This doll was made by Fred Laughon, a
well know wooden doll and furniture maker.
You can read about him at the link below. If
you visit pinterest, just search his name to
see some of his lovely dolls.
Fred Laughon
 I stitched a simple outfit for Miss Jane. She
doesn't have an apron in the book, but I
thought she needed one. It's made from an
antique sheer gauze fabric. It was not easy to
work with & I'll avoid it in the future. The
pantalettes & petticoat have cotton string ties.


It's a large one, so I will use the dreaded
machine. I think I'll use some red
and white stripped ticking for her
mattress and pillow. A quilt is
probably in order too.
 Aletha needs some shoes, but for now she'll
just have to be content with clothes!

Happy Sewing!
found on Dixie Redmond's site, Maida Today. They
remind me of the Wicked Witch of the West, but
red and white stripped socks were quite fashionable
in the mid 1800's.
Maida Today Old Fashioned Sock Pattern
Miss Letha's asked me to make a
matching outfit for her favorite doll Jane.
Jane the Cook is a character from the book
The Tale of Two Bad Mice by Beatrix Potter,
Aletha's favorite story.
This doll was made by Fred Laughon, a
well know wooden doll and furniture maker.
You can read about him at the link below. If
you visit pinterest, just search his name to
see some of his lovely dolls.
Fred Laughon
doesn't have an apron in the book, but I
thought she needed one. It's made from an
antique sheer gauze fabric. It was not easy to
work with & I'll avoid it in the future. The
pantalettes & petticoat have cotton string ties.
I made button loops for the
tiny buttons with silk thread doubled.
I have a couple stitches that aren't
pulled firmly & I didn't get all the loops
the same size. I have to say,
it was very tiny work & my eyes and
fingers just don't do what I want
sometimes.
Button it up & it looks just fine.
Next project is doing some work on
her oak bed and making the bedding.It's a large one, so I will use the dreaded
machine. I think I'll use some red
and white stripped ticking for her
mattress and pillow. A quilt is
probably in order too.
just have to be content with clothes!