I am little reluctant to do this tutorial,
because I'm fairly sure I do it differently
than other directions I've seen. I think
this stitch is normally worked toward
the right. I do it toward the left. I always
sew to the left, I like to see where I'm
going, not where I've been.
Goodness, I probably do the whole thing
wrong, but it works for me!! So, please
take this with a grain of salt. Hopefully,
you will still pick up a few hints.
~~~~~~~~~~~~~~~~~~~
Doing the blanket stitch on the fabric
book presented a few problems. Since my stitch
would be seen from both sides, I didn't want
any knots showing. The 2 pieces of
fabric were sewn together, how would I hide
my knots? I also had a ribbon coming out
of the center of the 2 pieces for fabric.
How could I have the stitch on both sides?
How would I end a length of thread and
start a new one? All those corners!
Sounds complicated!
I sewed a little square of plain fabric
to keep it simple for this tutorial.
Just like on the book, I used 3 strands of
embroidery thread. 1 needle for stitching,
and a large needle with a big eye for
making a hole to hide my knots.
I chose to space my stitches 1/4 in. apart.

You can make evenly spaced little dots with
a water soluble marking pen on both sides. A ruler
or graph paper works well.
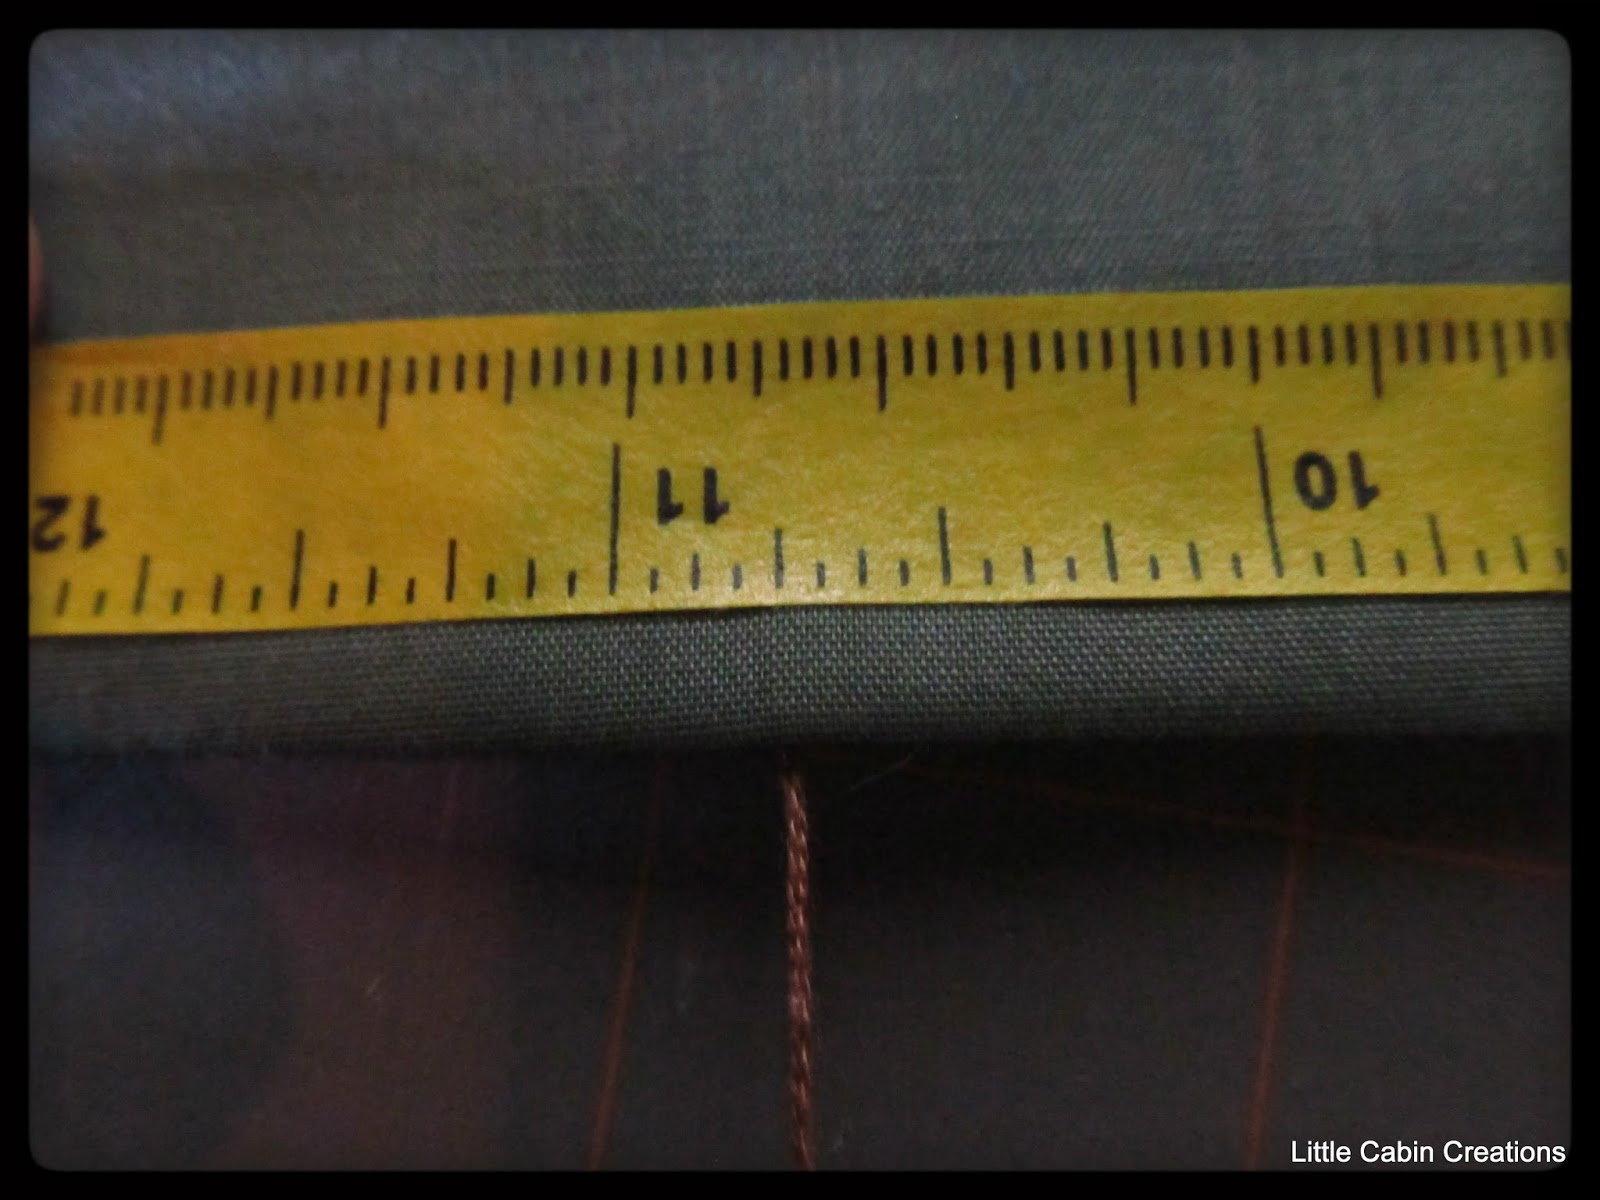
A good rule for this stitch........the larger the thread you
use, the longer the length and width of your stitches.

I used gauging tape, on both sides for this demonstration.
I didn't match up the inch marks, just 1/4 in marks.
Generally, I just eyeball this stitch. It's
a fun stitch and frankly I think it looks good
when "not" done with total precision.

I used a length of thread about 18 inches long.
I made a simple tied knot.


Pulled tightly and clipped.

I started on one side, in the middle, bringing my
needle out on one of the 1/4 inch marks.
Only go through 1 layer of fabric, this isn't seen
on the other side,
To hide the knot, I used the large needle to
make the entrance hole bigger.
So easy to pull the knot to the inside!
To start the first "false" stitch I took my thread
straight over to the other side.
Matching the 1/4 mark on the other side,
I inserted my needle and came out just to
the left of my thread, on the seam line,
between the 2 fabrics.
Again, this is not seen on the other side.
Notice my thread is looped behind my needle.
Close up.

I pulled the thread firmly.
This made what I call a "false" first stitch.

How it looks from the other side.
To make the first "proper" stitch, I inserted my
needle on the next 1/4 inch mark. This time I
went through both fabrics, straight to the
1/4 inch mark on the other side. Don't angle the
needle, go straight through to the other side.
Notice my thread is looped behind my needle.

Coming out on the other side.

I pulled the thread firmly, but not too tightly.

The following photos show the next "proper" stitches
done just like the first one.

Insert the needle on the next 1/4 inch mark, with
the thread behind the needle and come straight out

on the 1/4 inch mark on the other side.

As I pulled the thread firmly it's looped like this.


(I keep my tension the same on each
stitch. I keep the stitch flat on the seam line,
with no loose loops or puckers).
I continued with stitches.
Till I came to the corner.
(I've pulled the tape up)

To turn the corner, I inserted my needle
in the last stitch.
(Be sure to loop the thread behind the
needle even though it doesn't show
in the next 2 photos.)

Coming out on the opposite side

I then pulled the thread to the corner point.

I inserted my needle again in the same hole through
both thicknesses.

and pulled the thread around the corner.

Then continued stitching.
When I came to the ribbon, I did "false" half
stitches till I came to the end of the ribbon.

For these false half stitches, I inserted my
needle on the next 1/4 in mark, going between the
2 layers of fabric.
I came out right next to the ribbon on the seam line.

Close view.

When I got to the end of the ribbon I made a
proper stitch, going through both thickness
of fabric.

I turned it to the other side. I inserted my
needle next to the inside edge of the proper stitch,
coming out just to the left of the stitch at
the beginning of the ribbon.

I turned it and did false stitches on this side.
I came out under the last stitch.

Now, I could continued making proper stitches.

When I came to the end of my thread,
I made a tiny stitch through a single layer of fabric just
at the seam line slightly over a 1/4 inch away.

Made a single loop.
Pulled it firmly.
To hide my knot, I inserted my needle
right next to the knot.
Came out a distance away
and clipped the thread end. Ready to start
again with a new length of thread.
I started again just like I did originally, with a false
stitch. I inserted my needle through a single
layer of fabric, coming out on the next 1/4 inch
mark.

I made a hole with the large
needle,

hiding my knot inside.
I took my thread to the other side.
(See how the thread I ended is just
past this false stitch.)

I inserted the needle on the 1/4 inch mark
through a single layer and came out on the
seam line just to the left of my thread.

The false stitch.

I then continued to make proper stitches.


When I came to the end, I placed my needle
under the last stitch.

I made a tiny stitch through a single layer
of fabric right on the seam line.

I wrapped a single loop around the needle and
pulled the thread tightly.
I inserted my needle next to the knot
coming out a distance away

and clipped the thread end.

Done!

No knots showing, you can't see where I stopped
or started with a new thread, both sides of the ribbon
look neat and the corners......sew easy!!


 The pink blocks.
  I actually have duplicate panels so I'm making