
This summer while resting my arm, I decided
to catch up on a few "machine" projects that have been
on the back burner for some time. Have you ever
made fabric books? They are so simple and easy.
to catch up on a few "machine" projects that have been
on the back burner for some time. Have you ever
made fabric books? They are so simple and easy.
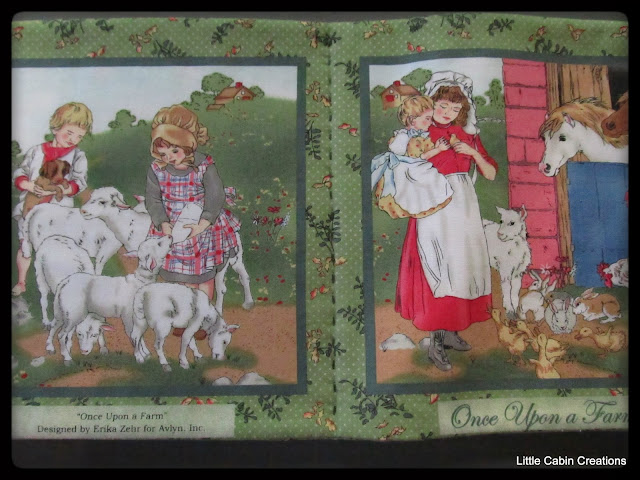
Most fabric shops have a few to choose from,
but search "cloth panel books" on the Internet
and you'll fine lots of choices.
but search "cloth panel books" on the Internet
and you'll fine lots of choices.

They come ready to cut out.

The directions are printed right on the panel.
A great first project for a beginner.


I used a natural cotton batting.

I decided to add 2 pieces of woven ribbon to the
book cover, so my book would tie together.
~~~~~~~~~~~~~~~~
I marked the center.

Pinned the ribbon

on both sides of the front cover.
 Placed the appropriate page on top.

Added a piece of batting, and pinned it
all together. The ugly piece of duck tape
is to remind me to leave that section
un sewn for turning right side out.

All the sections ready to be sewn together.

Sewn, turned and ironed.

I used a ladder stitch to close the turning section.

Here's a link on how to do the ladder stitch.
Ladder Stitch
Virtually invisible.

I stacked the pages together according
to the directions.

The cover page is a bit larger than
the inner pages.

Directions called for sewing the
center seam of the book with the machine,
but I wanted to hand stitch it. I marked a
line at the center of the inside,
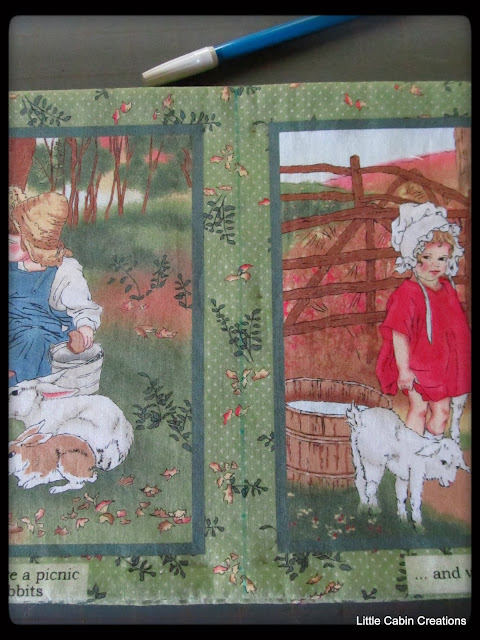
and the outside with a water
soluble marking pen.

I butted my gauging tape next to
both lines. I wanted to make nice
even stitches.
I made sure my tapes matched up, I didn't
worry about the inch markings, just the
1/4 in marks.

 I used a coordinating green embroidery
thread (all six strands). To hide the knot
I inserted my needle in the interior page
between one of the ladder stitches.


 Coming out right on one of the 1/4 in marks.
 I inserted my needle on the first 1/4 in mark,
 taking 1/4 inch stitches all the way to the other end.
 To make my knot, I took a small stitch,

wrapped the thread 2 times around the needle
 pulling it tightly. I hid my thread end by inserting

 Nice even stitches.
I quilted the pages with a single thread.

I edged the front and back of the outer page
with 3 strands of embroidery thread in the
blanket stitch.
 The Bug book went together just like the other one.
I added a brown grosgrain ribbon for ties and
used bright yellow embroidery thread to
hand stitch the pages together.

 This one will be cute for a little boy.
I'll probably do more embellishing before
I send this one off, but I need to pick
up the right color embroidery thread.

Sew easy and a great little extra
gift for the mother to be!
~~~~~~~~~~~~~

The directions are printed right on the panel.
A great first project for a beginner.


I used a natural cotton batting.

I decided to add 2 pieces of woven ribbon to the
book cover, so my book would tie together.
~~~~~~~~~~~~~~~~
I marked the center.

Pinned the ribbon

on both sides of the front cover.


Added a piece of batting, and pinned it
all together. The ugly piece of duck tape
is to remind me to leave that section
un sewn for turning right side out.

All the sections ready to be sewn together.

Sewn, turned and ironed.

I used a ladder stitch to close the turning section.

Here's a link on how to do the ladder stitch.
Ladder Stitch
Virtually invisible.

I stacked the pages together according
to the directions.

The cover page is a bit larger than
the inner pages.

Directions called for sewing the
center seam of the book with the machine,
but I wanted to hand stitch it. I marked a
line at the center of the inside,

and the outside with a water
soluble marking pen.

I butted my gauging tape next to
both lines. I wanted to make nice
even stitches.
I made sure my tapes matched up, I didn't
worry about the inch markings, just the
1/4 in marks.


thread (all six strands). To hide the knot
I inserted my needle in the interior page
between one of the ladder stitches.


I pulled the knot inside the page between
the 2 layers of fabric.


 pulling it tightly. I hid my thread end by inserting
the needle, coming out a little bit away and
and clipping the thread.
(I really could have just let the first
knot show!)


I quilted the pages with a single thread.

I edged the front and back of the outer page
with 3 strands of embroidery thread in the
blanket stitch.

I added a brown grosgrain ribbon for ties and
used bright yellow embroidery thread to
hand stitch the pages together.


I'll probably do more embellishing before
I send this one off, but I need to pick
up the right color embroidery thread.

Sew easy and a great little extra
gift for the mother to be!
~~~~~~~~~~~~~
This is so sweet...I love your technique for "binding" this book. Makes me wish I'd made them for all my grandkids.
ReplyDeleteOh "sew" nice, Sherri. I have been wanting to make a fabric book, "sew" this will be very helpful. You must have been born with a needle in your hand for everything you stitch is just wonderful! Thanks for another big dose of inspiration!
ReplyDeletePretty little books. You have put a lot of work into making them. I never had one of these, but have seen a few. thanks for showing us how to make one.
ReplyDeleteAbsolutely a beautiful gift for new mommy. Your demonstration was wonderful, Sherri. Thank you!
ReplyDeleteCarolyn
This is so wonderful, dear Sherri! Thank you for sharing this wonderful tutorial and the help to find a source!
ReplyDeleteGreetings from Germany
Erika