
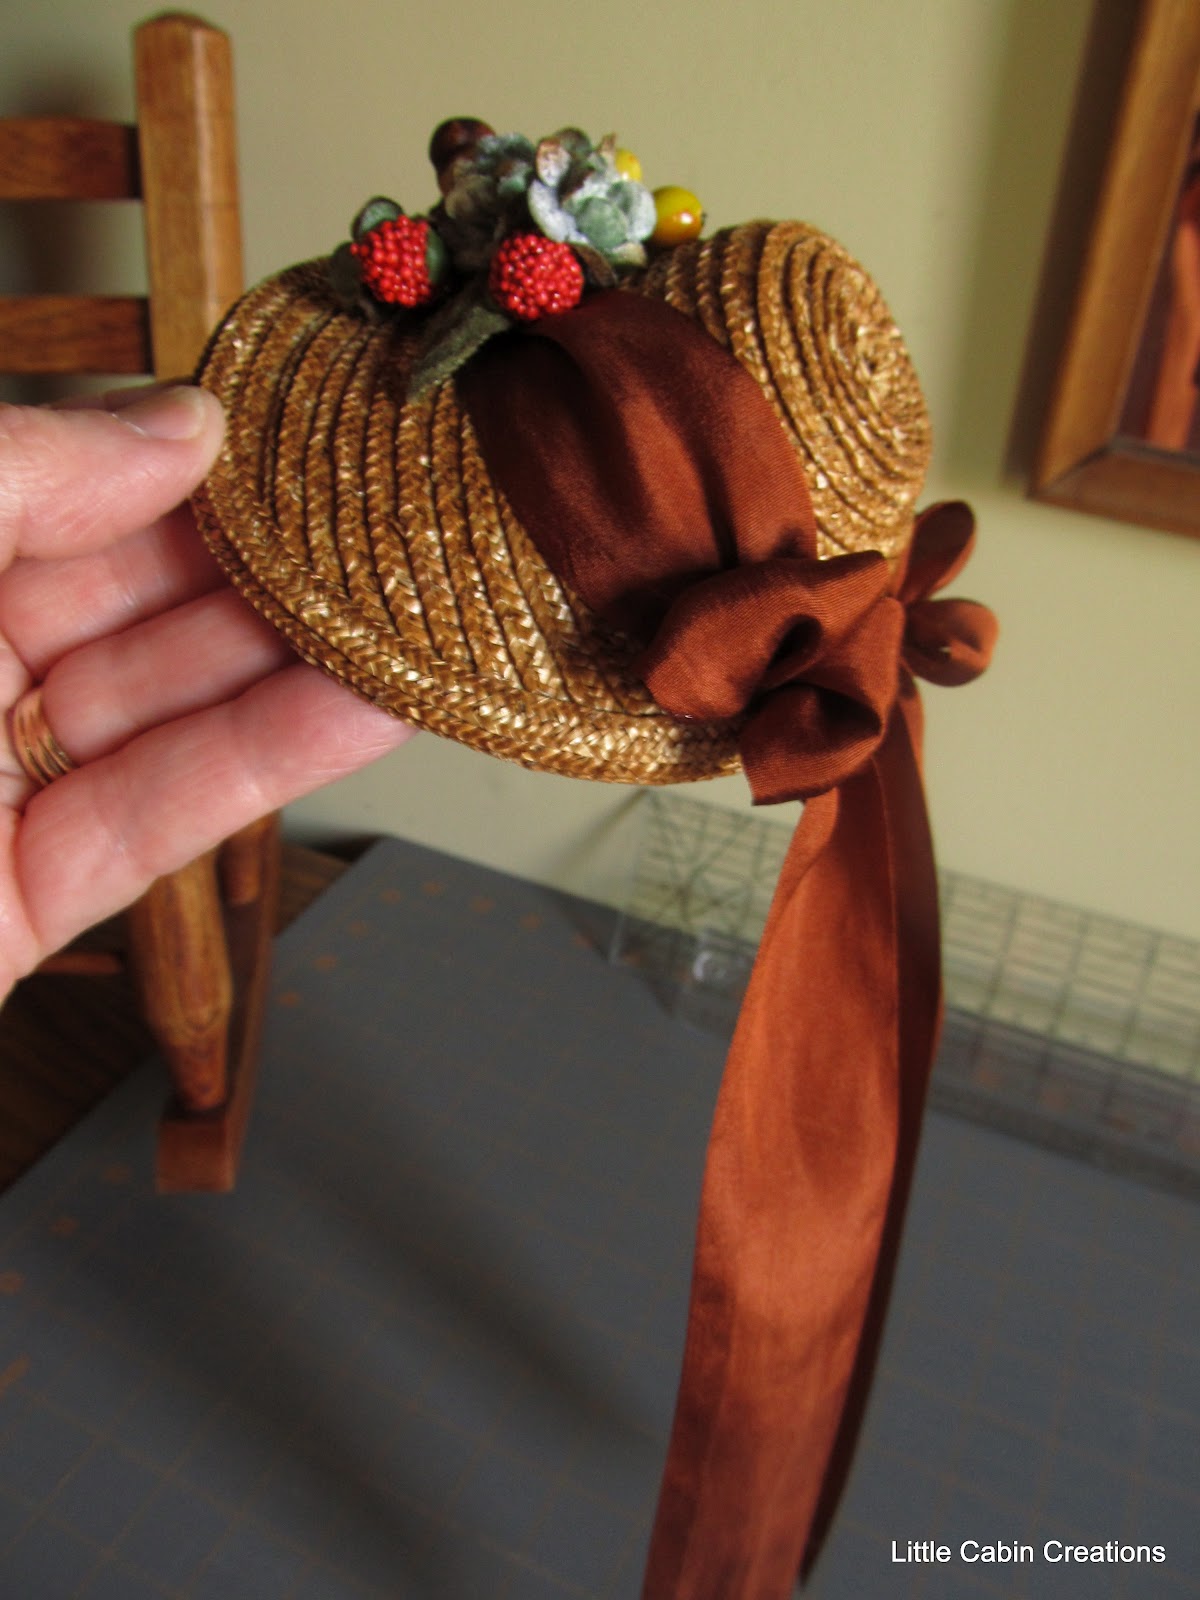
I thought it would be fun to show you
how I made this little bonnet.
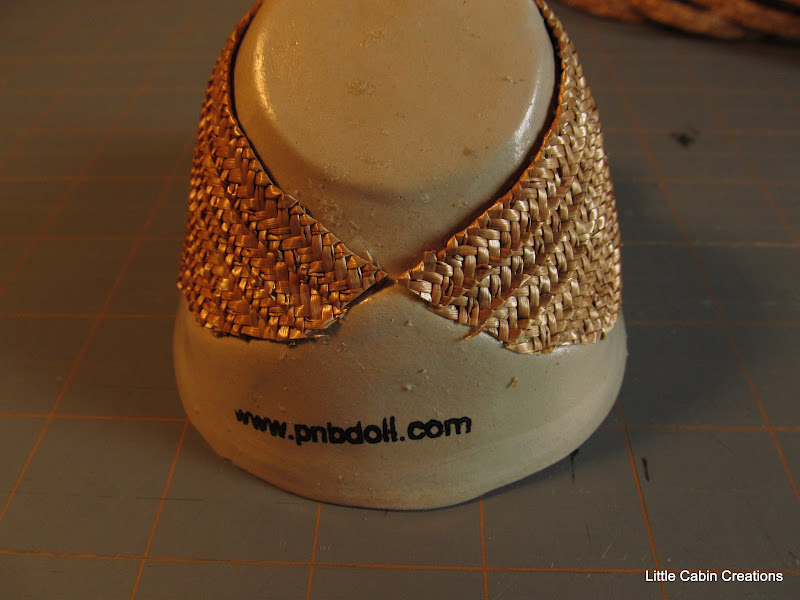
I started with a bonnet mold from
PNB Doll CO. They have lots of molds
in all shapes and sizes.

They sell Swiss hat braid in several
colors. They also sell kits that come
with wonderful directions.
Here is a link to their store.

However,
I have several Italian straw bonnets in a natural color
that are just too large for the dolls I make.............so,
I decided to dye a couple tan, take them apart and make
a different bonnet. Oh, how I love to
Make Do!
This is a great sight with links to doll supplies too.
This link is to the page that sells Italian straw,
I have purchased, since I published this post.
Look around her site.
Judith M Inc
This is a great sight with links to doll supplies too.
This link is to the page that sells Italian straw,
I have purchased, since I published this post.
Look around her site.
Judith M Inc

These are the materials I needed to get started.
Mold
Glue
Straw
Double sided tape
Scissors
Thread (matches hat color)
Needle & bee's wax (keeps your thread from tangling)

I used glue from PNB Doll. It dries
fast, clear and is flexible.
I intended to hand sew the entire
hat to make it more sturdy for child's play
so, I used the glue sparingly.

I started by placing the double stick tape
around the base of the mold, this will
help keep the straw secure.
around the base of the mold, this will
help keep the straw secure.

I placed 1 row of straw at the mark
indicated on the side of the mold. (the mold is
marked on both sides) I added a thin row
of glue to the inner side of
the braid.

Then added another row of braid over lapping the
first row about 1/2. Cutting the strip
at an angle on the end.

I continued adding several rows.

As I added rows, I spread the ends out. This
spreading allowed the direction of the rows
to curve toward the back.

To make the hat come out even, I
overlapped the rows to the front more.
overlapped the rows to the front more.

I continued adding until the rows
met in the back.
I started with a new row, coiling around,
no longer cutting the braid.
no longer cutting the braid.

I continued coiling, gluing, overlapping
and pressing down.


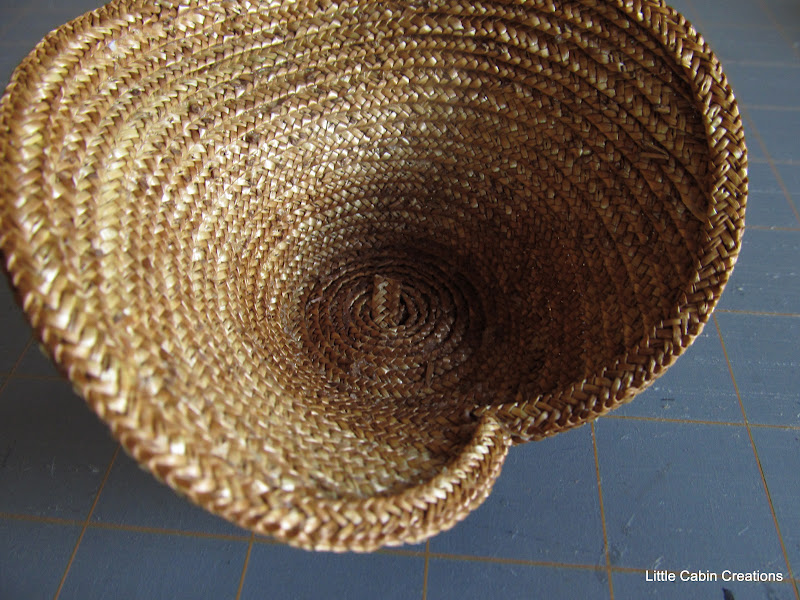
When I reached the middle, I left a small hole.
I cut the straw about 1 inch long and tucked it
through the hole to the inside of the hat.
through the hole to the inside of the hat.

I glued this down.

This is what the hat looked like.

I carefully removed the hat from the mold.

Trimmed the edges with my scissors.


I put the hat back on the mold, added
a bead of glue all around the top
of the outer edge & added 1 row
of straw matching in the back.
I cut the braid so it matches neatly.

I did the same to the inside
of the hat.
I added another row to the
outside of the hat. This made a
nice finished look to the
bonnet.
outside of the hat. This made a
nice finished look to the
bonnet.

At this point I hand stitched
the entire hat. The hat is done,
ready to be embellished!

These are items used I used
to decorate the dolly's bonnet.
Floral tape
Wire cutters
Velvet leaves (cut down into tiny leaves)
Vintage composition berries
vintage spun cotton mushrooms

Velvet flowers
Thread and needle
Silk ribbon
Some scissors too!

More decorations than I needed
but I wanted plenty to choose from!
I started by attaching the ribbon
but I wanted plenty to choose from!
I started by attaching the ribbon
to the front of the bonnet,
sewing it down.

The doll that was going to wear this
bonnet had pigtails. I attached the ribbon
ties low to the back of the hat, so the
ties low to the back of the hat, so the
bow could be tied close to her neck
and not interfere with her braids.
and not interfere with her braids.


I then added small loops, folding up the ribbon
and sewing them down.


I had plenty of this ribbon so I
added another loop to both sides.
(I refuse to waste even 1/2 in of silk ribbon)
(I refuse to waste even 1/2 in of silk ribbon)

I chose several flowers, berries, 1
mushroom and wrapped them
together with the floral tape.

I sewed this bouquet to the center top
of the bonnet.

The bonnet is done!


You might be wondering why I would
add red berries to this hat. Matching is really
a modern concept! Besides, I like to
make do with what I have!

This was a fun project. A special
hat for a special doll.
The work was tiny and a bit tedious,
but well worth the effort!

This is a wonderful book by Denise Dreher.
I purchased it when I was doing reenacting.
Here is a link to her site.
This is awesome, Sherri! What little dolly wouldn't love to have a hat like this...just beautiful!
ReplyDeleteThat was just amazing. I have never seen how a bonnet is made until now. It is so pretty too. I see you did alot of work to get it made. thanks for sharing all this. Beautiful work
ReplyDeleteLady, thou art truly an artist. I am so in awe of this.
ReplyDeleteLovely! just found your blog - so many lovely things to explore!
ReplyDeleteHi Sherri, I'm sooo glad to have found your blog through the Maida Doll Group. I saw your comment about making a bonnet and just had to stop by to see it. I always wanted to make a straw bonnet but didn't have a clue how to make one. Your bonnet is simply gorgeous! Thanks for sharing, you did a great job with the "how to" pictures. What size doll head does this mold fit?
ReplyDeleteI enjoyed your blog and how to stop by often....
Bethann Scott
Delightful hat...What little doll wouldn't love that hat....adorable!!!!
ReplyDeleteCarolyn :)
Un tutorial molto bello, grazie! Sarò felice di seguirti!
ReplyDeleteBeautiful Bonnet, and nice tutorial. It is interesting to see your methods, I've been using paper hatstraw which is very flexible and easy to hand sew. I will have to investigate hat molds for dolls!
ReplyDeleteWhere do I buy this at
ReplyDeleteis there a kit for this hat
ReplyDeleteSorry, no kits. You can try PNB doll molds by the link above.
ReplyDeleteruthehenshaw@yahoo.com
ReplyDeleteI make little yarn dolls with heads 20 to 50 mm for children that are grieving and would love to buy some. Do you sell bonnets if you do are they small enough? And what would the prices be?
ReplyDeleteI no longer make bonnets of this type for sale. Thank you for your interest.
ReplyDelete